Showing posts with label organization. Show all posts

Wednesday, July 1, 2015

Grading tests and the black pit of despair! BUT NO MORE!!!

Howdy! I am in the middle of a Kim Sutton Math Camp and am learning so much for my new grade level! My brain was spinning about what to share with you first! But, I wanted to back up and really dive into something I found last year but didn't get around to using. (You mean, we don't implement everything we find in the known teaching universe; immediately? The answer is.. sadly, no.) But I really got to thinking: I am going to have 3 classes of math and I want to be very efficient at providing test feedback rather quickly. I want to do ALOT of data tracking and self monitoring this year. In order for that to have any impact with these kids, they have to get feedback and as much as I can give!
So.... first problem I ran into was grading their tests. I tried to grade it as they turned it in, but then I got tied up with given testing accommodations ( oral admin or small group, etc) and when I tried to do both, my poor small group kiddos were interrupted up to 20 times during their test. Not good accommodating if you ask me! So I stopped grading immediately and my kids got into a bad habit of rushing and turning in sloppy work with loads of mistakes.
The second problem I found was when I had to wait to grade the tests, the feedback came way too late, sometimes days later. At that point, the mistakes wouldn't resonate with them and had little impact. Sadly, the test just became another boring worksheet.
At last!!! My suite mate from 3rd grade found this great app on Pinterest and sent it to me. Again, with all the fabulous new math objectives this past year, this was put on the back burner.

Here is a rundown for you. The app itself is called ZipGrade. It does have a free trial version where you get up to 100 scans free. Then it comes to a decision, to purchase or not to purchase? When you purchase, I believe it doesn't have a limit of scans anymore, It goes to a subscription for a period of time. I figured I'll give it a try the first test we take and go from there. So i downloaded the free app and started exploring. You will definitely want to set up a account, because it makes your data easily accessible in the app/computer. When you log in this is what you will see.
Below is a picture of  where I created my 3 classes.
Above: Picture of once you created a quiz and where your quizzes will be listed.

 This is the student section. All of these are fake students. I began with first and last names. I then started thinking about full student names with their grades easily seen (you will see that in a few minutes), I wanted to make it as private as I could without me needing a cipher to figure out whose data I was viewing. Play around with it and do what makes you feel comfortable. Everything about the student is editable. First and last name, ID, and Ext ID. I think I decided I am going to do 3 digit number for each student. For example: The first student alphabetically in my homeroom would get the number 101. The second, 102. The first student alphabetically in my 2nd class would be 201. Easily deciphered by me, and the kids won't see names immediately.
Moving on...
The next two pictures are views from when when you click on a specific class name under the Classes Tab. 
A view of the quizzes given for that particular class. And when you click on a specific quiz, it takes you to the picture below.
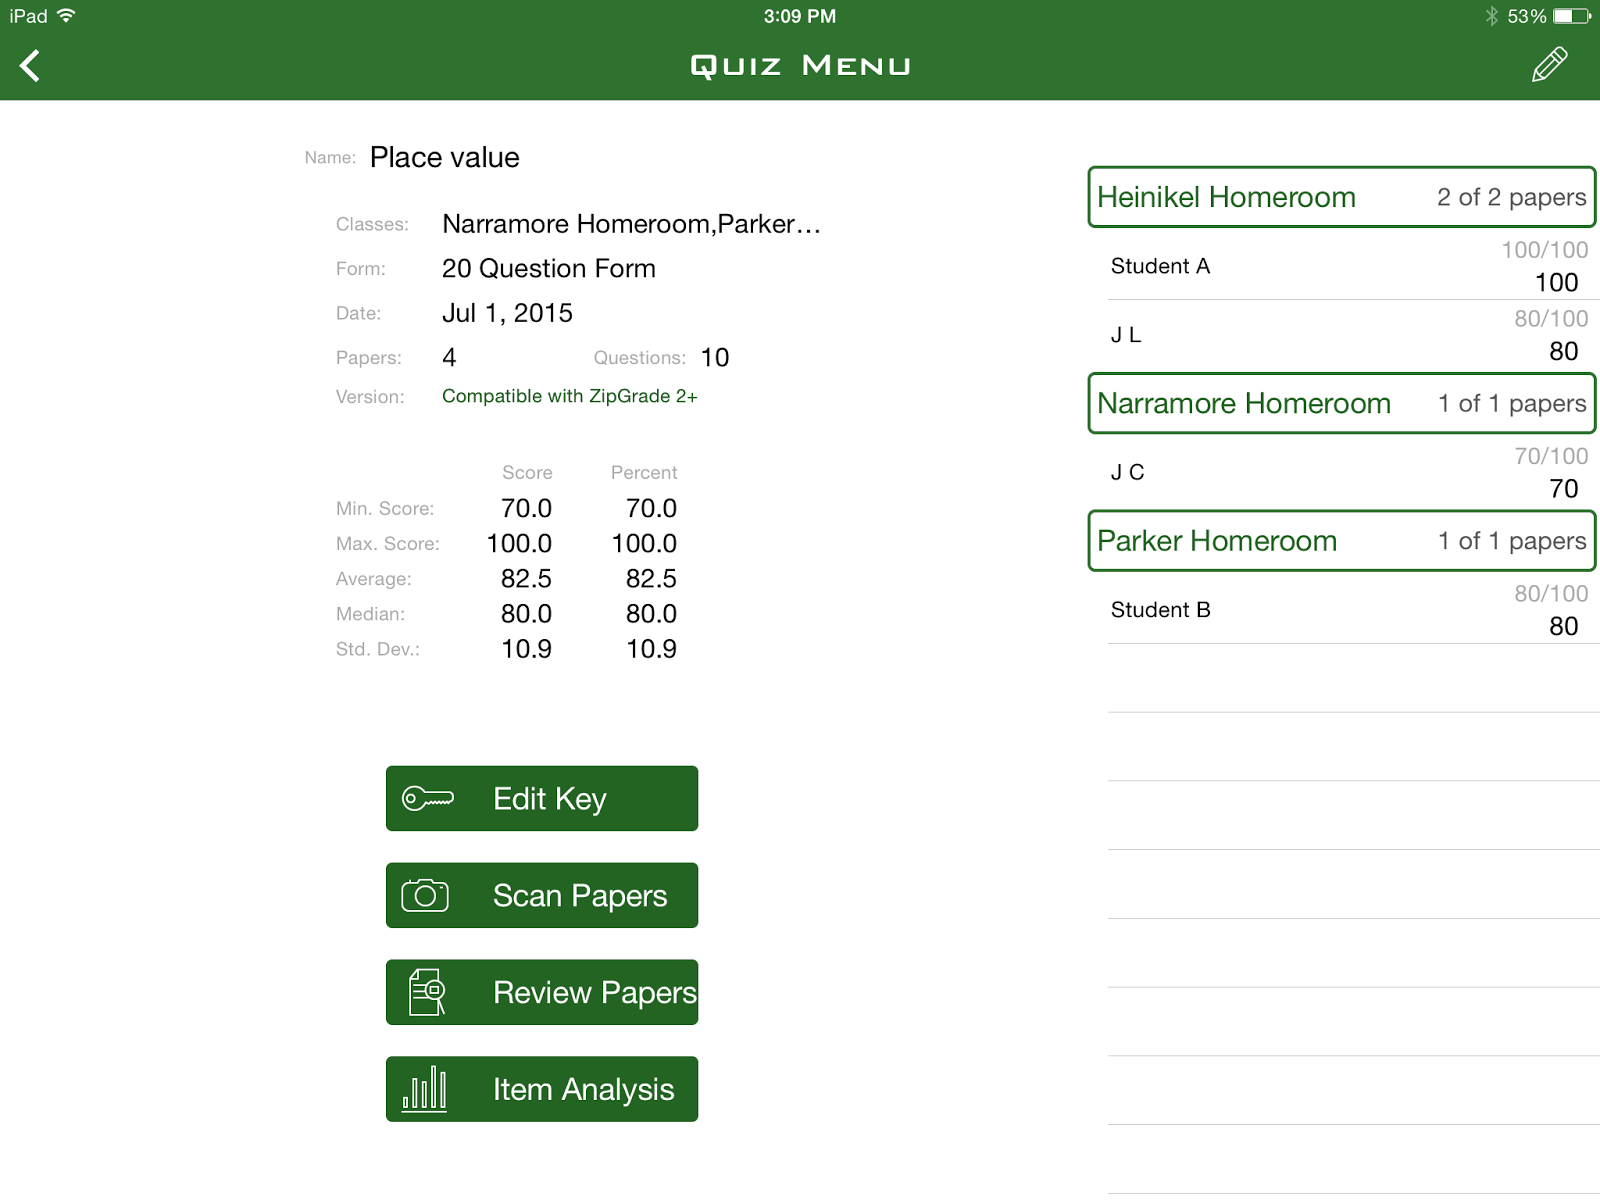
This is where you can see scanned in grades ( on the right). You can see stats. You can also edit/create your answer key, scan the papers, see bigger view of what is on the right side if this page already, or the glorious item analysis portion. Absolute GOLD, my friends! I'll get to that in a few moments.


This is the view when you click on  Classes, Students Tab. When you click on an individual student, it brings up this view...
Holy Moly Right?!?! All the tests taken by that particular student and their grade. OMG What great documentation that is easily accessible. Where have you been all my life?!
You can even go further into what question he/she got correct or incorrect! WOW! What a great tool!
Now here is the best part if you are a DATA DRIVEN teacher... The Item analysis portion. Once quizzes have bee graded (by ZipGrade NOT you) you can see the item analysis of your test. Here is what it looks like.
Draw back here... On the app, when I first had 12 questions and weighted them 8.3 each. It did some weird things and turned it into 8.300000000001 or something similar. Therefore I did my demonstration by an easy 10 question test. 
What easy feedback for planning purposes! When you click on a particular test question Zip Grade even breaks it down by student who got it correct and incorrect! There is your small grouping already done for you! 
My next post about this will be how the first test of the year went using this and some tweaks I want to make. Some things I still want to consider are:
  1. Will I have my students scan their own or will I scan it? 
  2. How will I have the students follow up after they have received their grade?
So there you go folks! I am telling you, download it and play around. They even give you the scantron to use. No creating the wheel! What are your thoughts on this app?


Monday, August 12, 2013

Classroom 2013-2014!!!!!!!

Howdy! It is T- minus 4 days until we begin staff development week. I have spent over three weeks off and on getting my classroom set up. OF COURSE, I changed a lot of things this year so I took tons of photos and I'm giving you a sneak peek!

 This is the view from the door. We have suites so my room is the back room. You have to walk through my suitemates room first. The pictures are going to go counter clockwise around the room.
This is what I put on the wall in between our suites as well. It is my multiplication graffiti wall. The kiddos get to sign each section when they have mastered that fact!


Word Wall! 
If you notice I have a blue sparkly board to the left. It is my no name board!Here is a close up of that! Those are clothes pins I painted black and stuck to the sparkly paper I got from Hobby Lobby!


My Class Jobs Clip chart .
 
Next is the Turn in Table. Highlighters to help them remember their name. Box Tops can. Electronic Stapler. Both Math and Science turn in baskets. If you were absent box where I place extra copies. Construction paper and their privacy folders are in the little cubbies. Off to the left side is my "Drop Box". This is if they have any forms/notes/money/etc. to turn in.
Under the Turn in Table are the table baskets where I am going to store their notebooks and folders for Math and Science class. This way I don't have to worry about it not being brought to the room. It is already here. The clipboard is used to separate the different classes. the supply manager for each table will be in charge of grabbing it when they enter the room.
 
My Outstanding Work wall.
My teacher area.
 

My filing system behind my kidney table. I use the 10 drawer cart for copies of any worksheets/materials I will use that day. The bottom drawers have copies for future weeks. The smaller cart is my student files and teacher material files.
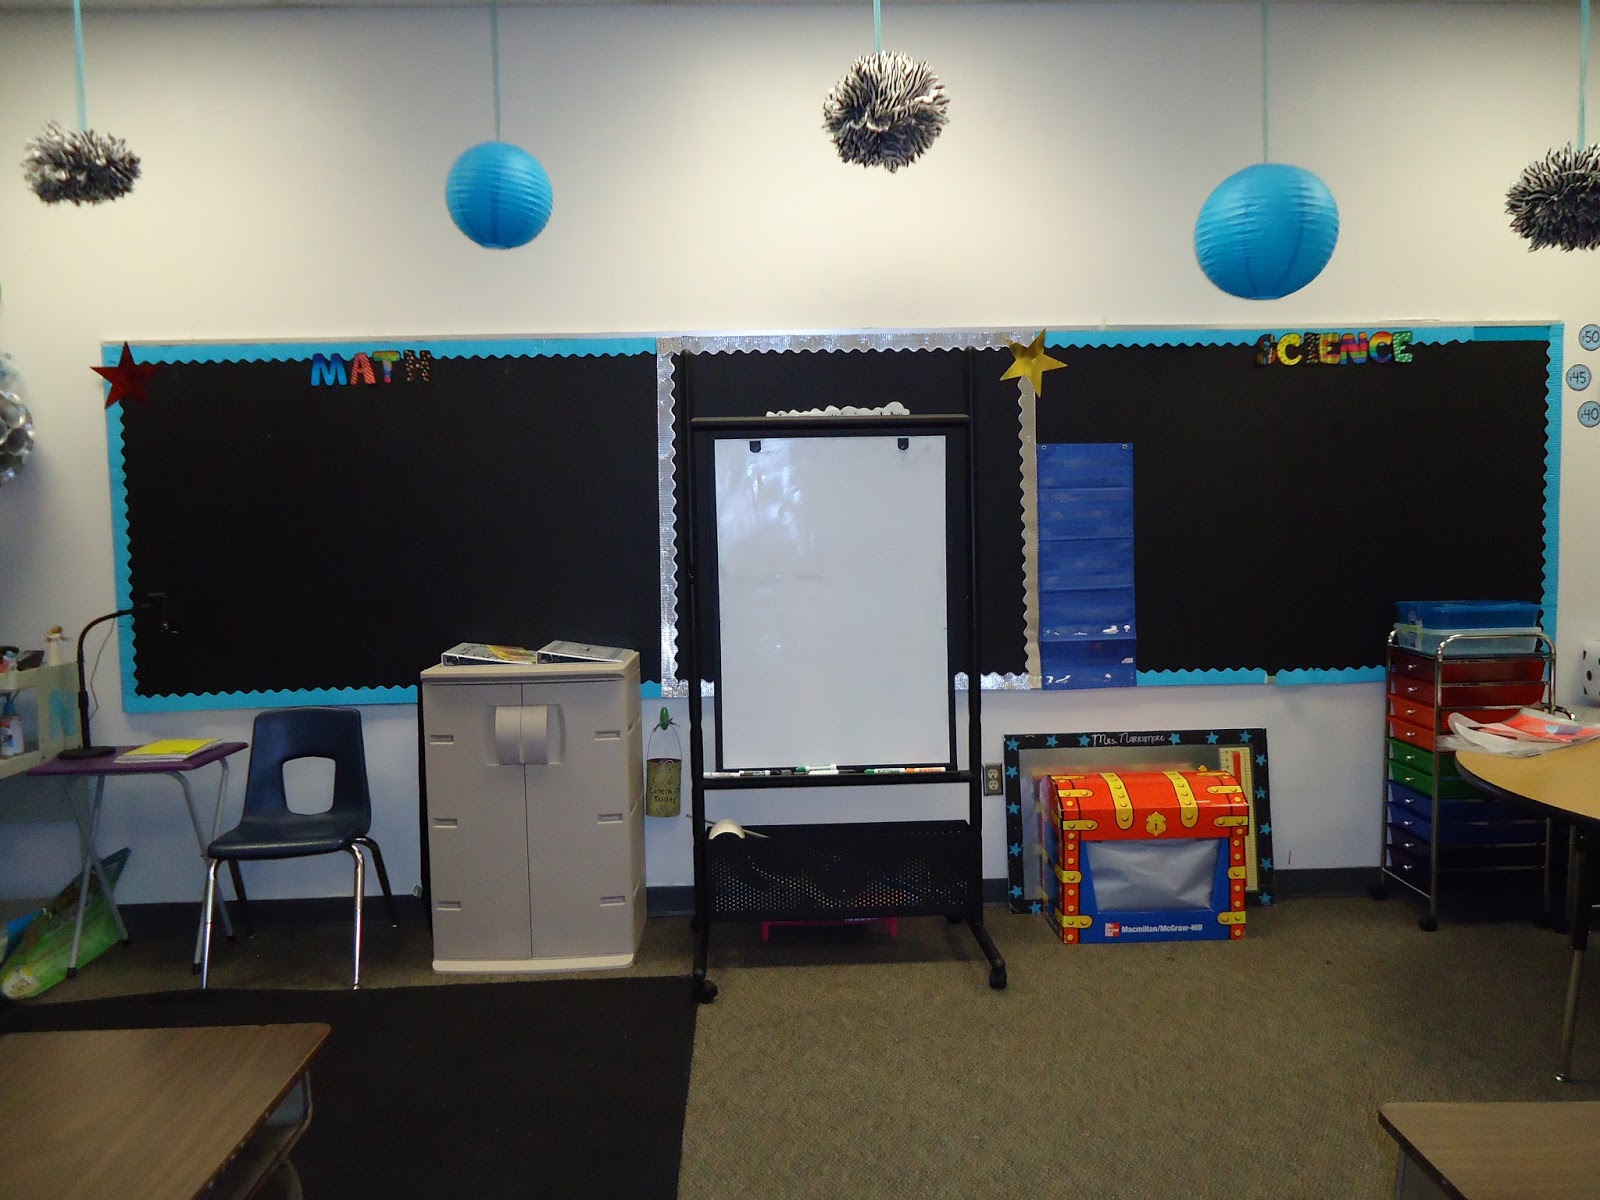
My Anchor Chart bulletin boards.And the mobile whiteboard is for when we do whole group instruction on the carpet ( which is not in the correct place, I'm just now noticing! It would be centered with the white board and Anchor chart boards.)
 
My Ticket out the Door poster. I will use sticky notes for quick assessing what they got that day. It is behind the mobile white board. The stars have the students numbers on them.
My station cabinet along with important binders that will need to be accessible. The bins I got at Walmart for 3.50 a piece.

My document camera area. The black hanging file thing is used to hold my class notebooks we do and any other items I expect the kiddos to have.
The camera area is right next to my teacher computer but we are going to skip over that. Next, is my Learn Bingo Board. For more information on how I use that, see this behavior management post from April 16,2013.
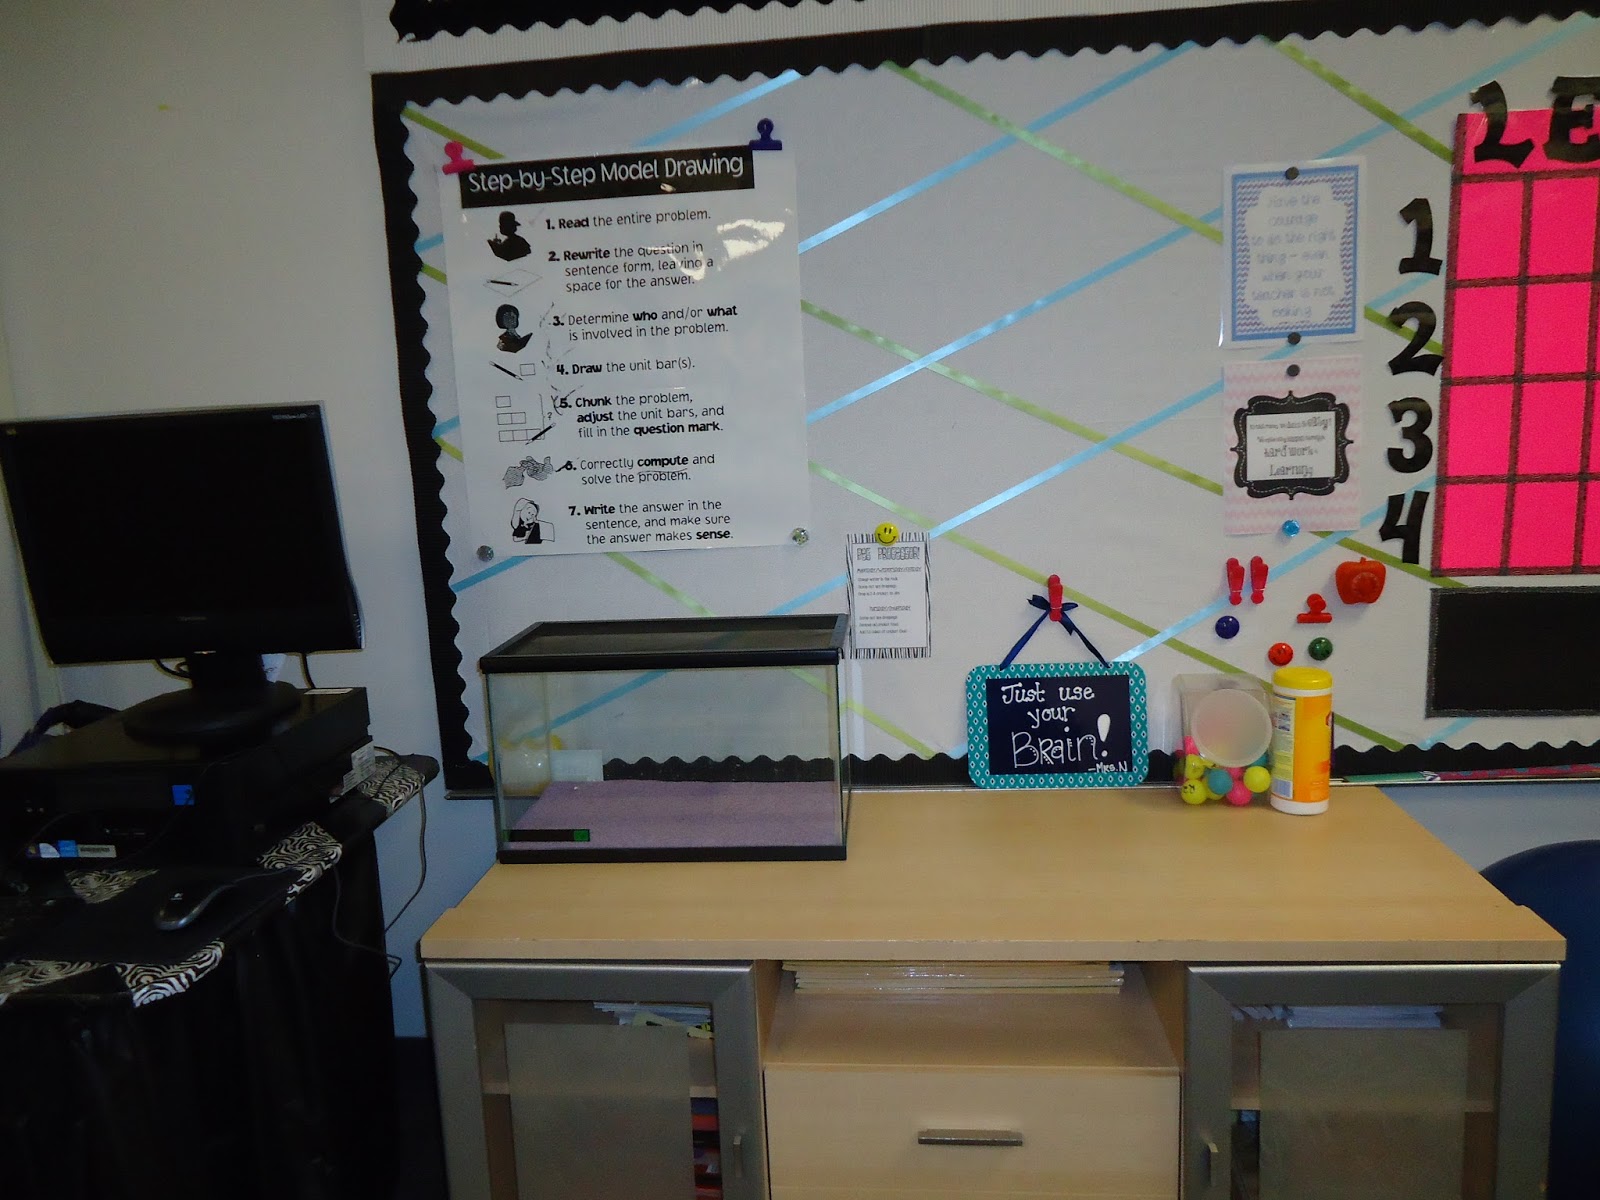
This is where my class pet Leopard Gecko will be located. The board behind him is for Anchor charts we use year long. The cabinet beneath it is used for extra tissues, sanitizer, construction paper, etc.
Next is my wonderful computer station! :) The table I did myself with DUCT TAPE YA'LL!
 
This is my whiteboard that I will use for my SWAG poster. ( Posting that when I have it made). MY objectives, and my instruction board.
Here is a close up of the instruction board. This was an idea off pinterest that I found really helpful!  Those are the questions or instructions  I constantly answer/repeat. Sooooo, I just check either side of the instruction before they get started so they know!
Moving counter clockwise still, my final wall. The lovely cabinet space we have.
 This Star Student display is for my 6 wks honor roll and Super Bobcats!
These are our Whole Brain Teaching Rules. I created a sixth one that our school might be adopting.
KETCHUPS AND PICKLES display! Another pinterest find! If they owe any work a clip with their name will be under Ketchups. It even specifies what subject because they have two teachers.

My Weekly folders. This is where I pass back graded papers and they pick up on Wednesdays to go home. I also keep extra forms/informational flyers in the bottom pocket in case they need another one!
And we are all the way around the room, walls atleast. Here are my desk arrangements. This view is from the front of my classroom.

 Another from the front. I have four tables.
This a view from the entry.
Now I know you noticed those lovely storage carts in the middle of every table. This is my first year to do supplies in this way so I'll keep you posted on how it goes. Here is a look at those.
 
A view of what sits on top. From left to right: trash can, pencil container. If you notice the toilet paper roll in the center that it where the SHARP pencils will be and the dull ones will be outside of it. NO MORE PENCIL SURFING! ( searching for a sharp pencil.) Then we have the tissue box and sanitizer behind that.

This is the labels on each drawer so it is a no brainer where the materials are.
Top drawer. I put colored tape around some of those supplies BECAUSE, they are only there to RENT. It is emergency supplies if someone forgot their stuff at home.. grrrrrrrrrrr. I will know if they are using the EMERGENCY stash because of the tape.
Middle drawer. Those great erasers are at the dollar tree. The big one is for whoever is the supply manager that week. ONLY THE SUPPLY MANAGER can access the entire supply cart. That way if it is messy, I know who to speak with.
Bottom drawer. The empty white bins are for our Goals Journals that you can see about in this post.

That's it for now guys! Have fun getting your stuff ready. Let me know if you have any questions and I will be sure to post more soon. What do you think so far?????


Tuesday, July 9, 2013

Make your own Supply box!

I don't know about you, but last year I had several different mismatching containers on my desk that held pens, markers, my pencils, staple removers. It was a CLUTTER DISASTER! So I found this idea on pinterest and altered it for my classroom.
Here is the finished product!!!!


Here is the shoe box and fabric. I cut the fabric like this.

I used glue dots and tried hot glue. But you could do it mostly on glue dots! I had the mini glue dots, but the bigger ones would probably work better!
This is how I set my glue dots on each side. then just started from the base of the shoe box and smoothed it over the glue dots.
I put glue dots on the inside of the box and folded the fabric into the shoe box.
The fabric doesn't go all the way down but it wont show once you have the toilet paper rolls in there.
Then, I spray painted toilet paper rolls and hot glued them together and to the bottom of the box so they won't lift up when I pull pens and markers out. TADA! No more mismatching containers and jars.
What do you think?? How do you organize yourself with those commonly used supplies that need to be within reach??